
TrackShip for WooCommerce plugin comes with pre-installed translations for multiple languages. You can easily modify any of the pre-installed translations using the Loco Translate plugin or add a translation for a new language.
Editing Existing Translations
- Install and activate the Loco Translate plugin on your WordPress website.
- Navigate to the “Loco Translate” section from the left-hand side menu in your WordPress dashboard.
- From the “Loco Translate” page, click on the “Plugins” sub-menu.
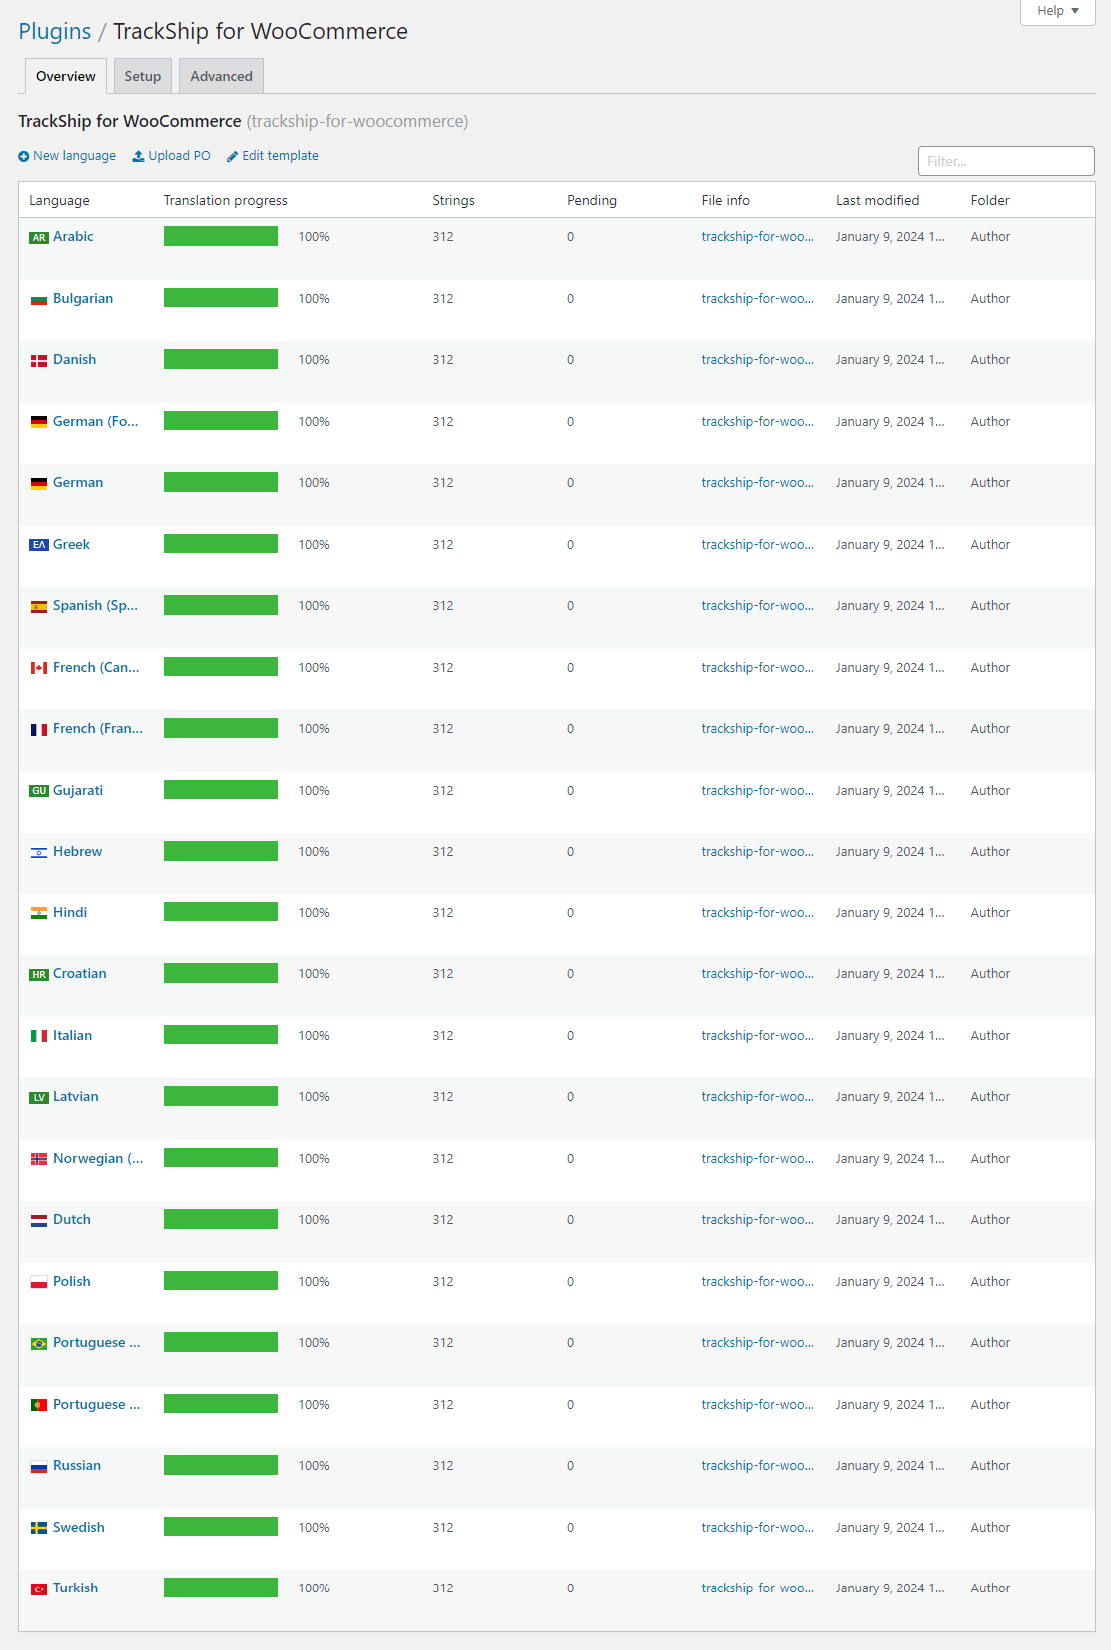
- Locate the “TrackShip for WooCommerce” plugin in the list and click on it.
- In the next screen, you will see a list of all the available translations for the plugin. By default, the plugin will be translated into English.
- To edit an existing translation, simply click on the “Edit” button next to the string you want to modify.
- Make the necessary changes and click on the “Save” button to save the changes.
- Once you have finished modifying the translations, you can test them on your website to make sure they work correctly.
Adding New Translations
If you want to add a new language translation to TrackShip for WooCommerce plugin, Loco Translate makes it easy. Here’s how:
- Install and activate the Loco Translate plugin in your WordPress website.
- Navigate to the “Loco Translate” section from the left-hand side menu in your WordPress dashboard.
- From the “Loco Translate” page, click on the “Plugins” sub-menu.
- Locate the “TrackShip for WooCommerce” plugin in the list and click on it.
- In the next screen, you will see a list of all the available translations for the plugin. By default, the plugin will be translated into English.
- To add a new language, click on the “New Language” button, select the desired language, and click on “Start translating”.
- The plugin will generate a new translation file for the selected language. You can then begin to translate the strings by clicking on the “Edit” button next to each string.
- Once you have made the necessary translations, click on the “Save” button to save the changes.
- Once you have finished translating or editing the translations, you can test them on your website to make sure they work correctly.
That’s it! With these steps, you should be able to edit existing translations or add new language translations to TrackShip for WooCommerce plugin using Loco translate.
Submitting Your Translations
If you have edited or created a new translation for TrackShip for WooCommerce plugin using Loco Translate, we encourage you to submit your translation files (po/mo) to us. This will help us improve the translation quality of the plugin and make it more accessible to users from different countries.
Here are the steps to submit your translation files:
- Once you have made your changes using Loco Translate, navigate to the “Loco Translate” page and locate the “TrackShip for WooCommerce” plugin in the “Plugins” sub-menu.
- Click on the “Sync” button to ensure that your changes are up to date.
- Click on the “Export” button to download the po/mo file for your language. You can find these files in the “languages” folder of the plugin.
- Save the po/mo files to your computer.
- Go to our dedicated page for translation submissions, and fill out the form with your name, email, the language you translated the plugin into, and attach the po/mo files to the form.
- Click on “Submit” to send the form to us.
That’s it! With these steps, you can submit your edited or new translations to us and help improve the translation quality of TrackShip for WooCommerce plugin. Thank you for your contribution!